Wednesday, July 25, 2012

Vintage Typewriter Love

So I have aspirations of getting on the Project Life bandwagon (well... sorta PL, my own version of it anyway, but more on that later) so I've been snapping onsie-twosie little photos here and there to you know, tell the story of my life (even if it's pretty bland).

So one day last month I arrived at work to find this on my desk:

The cutest, most amazing little blue typewriter ever, right? :)

I'm pretty sure if you'd taken a picture of me spotting this typewriter, I would have pretty much looked like a kid on Christmas morning.

And well, it's pretty much guaranteed that nothing better was going to happen that day to beat the discovery of the best vintage typewriter, ever, right? So when my coworkers weren't looking (to wonder why this crazy person was holding a photo shoot in her cube with a typewriter as the subject), I snapped this pic.

And then of course it was way too cool to be a tiny little 4x6 daily card, it needed it's own special page. Something to convey the angelic singing I heard when it appeared, the rays of sunshine that emitted from my new found little blue joy.... okay, so I may be getting a tad melodramatic here, but work with me... I lead a simple life :)

Oh yeah, and this is where I deviate from the whole PL thing... I mix in 12x12 pages for the things that are extra special.

And thus, this page, filled with washi tape goodness was born.

Complete with the story of the original owner, and how I came to share a little time with this fabulous, piece of vintage goodness. And since starting to use it, only once have I nearly pounded my laptop keyboard to death. Apparently I don't know my own strength :)
Studio Calico, October Afternoon, K&Co, Bella Blvd, American Crafts, Love My Tape, Bazzill

Thursday, July 5, 2012

Techniques on Tuesdays: Creating the look of weathered wood

The distressed and time-worn look is all the rage. You can get that look yourself with a few simple supplies.

"Barn Board" Supplies
-"Red Pepper" paint dabber
-Black paint
-1" paint brush (the cheaper and rougher bristled the better)
-wet paper towel
-plate for paint
-Tim Holtz Grungeboard: BASICS - Stripes

Here's how to work this technique:
  1. Cut the grunge board in half vertically to create the "wood" pieces.
  2. Cover the pieces in "red pepper" paint.
  3. Put a small amount of black paint on a plate. Spritz with water.
  4. Lightly dip the paint brush in the black paint. Off load a bit of the paint onto the wet paper towel. Then, working from the outside edge toward the center, add the black paint to the red pieces. The key to this technique is to use very sparing amounts of paint and to layer it as needed. Once you've added the black paint and it's dried a little, gently wipe over it with another wet paper towel to tone down the brush marks and blend it into the red.
  5. Repeat steps 1-4 until all of the pieces are painted.
To create the look of "nails," check out this post.

Monday, July 2, 2012

Check this out! Sketching made easy.

Despite resisting the Apple crush sweeping the world for the past few years, I broke down and bought the iPad 3 on the day it was released. To be honest, having been a PC and Android girl, I didn't immediately embrace my new iPad, but one of the reasons I kept it over the Andriod tablet was because of the fabulous retina display. I spend a lot of time viewing design related things and you really can't beat the display on the new iPad.
This past weekend I purchased a Bamboo stylus to use with my iPad and it came with a free app called "My Notes" from Bamboo/Wacom.

If you are a sketch artist, you NEED this app! Not only can you sketch with it, you can also import your actual photos into your sketch. Plus, it gives you options to save them to your photo gallery, email, and/or print. What a handy way to plan pages when you are on the go?!
Here's a quick sketch idea that I drew in just 2-3 minutes.


The possibilities for this are endless! I'm thinking that this app + my card reader would be an awesome way to document project life or a family trip :)

Try it out and leave us a comment!

Tuesday, June 26, 2012

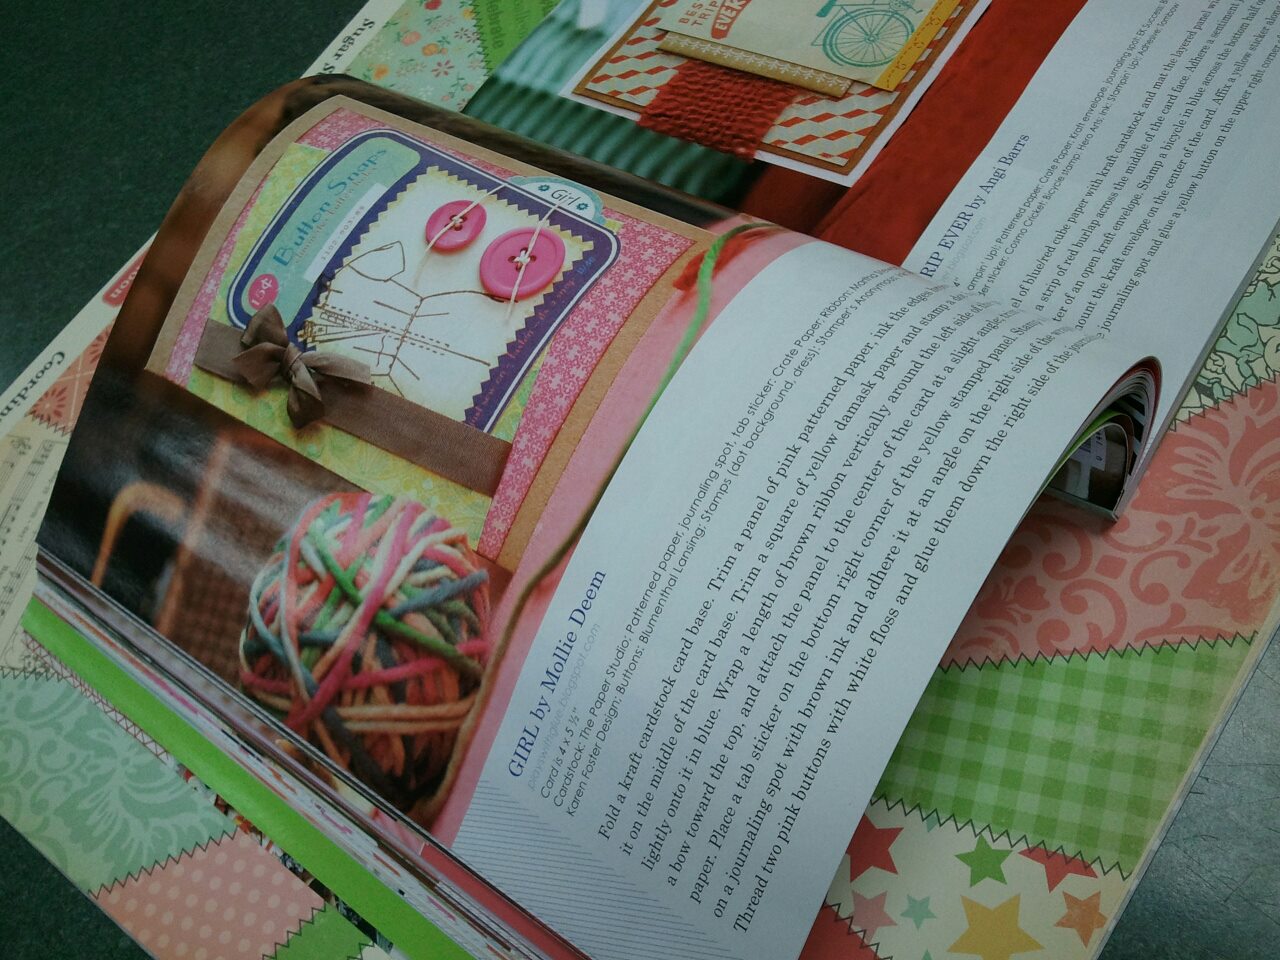
July 2012 CARDS Magazine Project

So part of the reason the blog's been a little neglected lately is because I've been working on publishing projects and I can't share those until after the issues come out.

This month I have a card in  Cards magazine.


Sounds pretty swanky, right?
Well, I'm going to let you in on a dirty little secret. Just don't tell, okay? ;)

(page 52)

 Sometimes I really, really want to be creative. Like knock your socks off, brilliantly creative. But my real job doesn't always leave a lot of brain power to work with by the end of the week. So when I'm in an "I just want to create" mood, I like to pick up scraps and extras and just play. I like to try new techniques, experiment with ideas I haven't vetted yet and see what I come up with. I like to use my scraps because then I don't feel bad about "wasting" supplies if the experimentation goes awry... and trust me, that happens!

The night that I designed this card I was totally, 100% brain dead. It had been a tough week at work and some friends and I decided to get together on a Friday night to relax and scrapbook. So I grabbed a few leftover supplies from my design team kit from The Scrapbooking Studio, a stamp set I'd been wanting to play with, and some ink. My friends came over and I'm pretty sure there was waaaay more gabbing than gluing that night. In several hours I only made two or three cards because we were too busy talking to really get anything done. A couple of weeks later, there was a submission call from Cards that this piece fit into, so I submitted it on a whim and voila! it was selected... my simple little card that I just "tossed" together one night.

So my point to sharing this with you? That you don't have to design specifically for a call. Play with your supplies, see what you come up with and if there happens to be a submission call that it fits, submit it!

Thursday, June 21, 2012

Crate Paper "Farmhouse" layout: sweetie pie

Hello! Sorry, I've been on a super long blog hiatus. I've been busy with a little bit of publishing work and planning a impromtu 50-person scrapbooking retreat for this summer while trying to exorcise (purge) my scrapbooking stash. Oh yeah, and trying to get acclimated to my new full time job. Whew... just a couple of things happen around here!

So I thought I'd catch up on some posting and found a few things from last fall that I apparently forgot to post. Oopsie!

Version 1 of the layout. The pink background was just NOT working for me. Not loving it. No way.

Version 2.0
Time to tear it apart and re-work it! Yes, that's right. If I don't like a layout, I really do just pull it all up and start again!
Much better, right? :)

Supplies: Patterned papers, stickers, chipboards - Crate Paper; Flower - Prima; Tag and Twine, Doily Edge Punch - Martha Stewart; Stick pins - Maya Road; Green Ribbon - May Arts; Doily - craft supply; Marker - Copic, American Crafts; Chalk ink - Colorbox.

Friday, May 18, 2012

Looking for the non-obvious product uses

I am always on the look out for supplies that can serve many purposes. When I first started scrapping I was always looking for themed embellishments to go on my layouts, but it seemed like enviably I either couldn't find something that I liked or when I'd finally get around to do the layout that I'd forget to use it.

And then one day I had an ephinay ...just limit my supplies to non-themed products that could be used equally well on a wide variety of layouts. That quite possibly was one of the most transformational moments in my scrapbooking approach. (Well, that and the day that I changed my organizational system to be based on ROYGBIV color order.)

So now I am always on the lookout for things that I can use in other ways. One of my favorite ways to repurpose products is to buy Halloween themed products to use on my high school layouts. My high school colors were orange, black, and white so at the end of the halloween season I look for products with universal designs in these colors. Usually I can find some good stuff on sale!

Halloween Divine Twine by Whisker Graphics


Twine is one of those things that work well for this. You can use it like ribbon, tie it in loops to make a flower, or make little poms out of it. So all of you UTHS, Valley, and Ames High moms... How cute would this be tied around jars and hanging decorations for graduation parties and then added to layouts in your seniors scrapbooks? You can win some over on the Whisker Graphics blog!