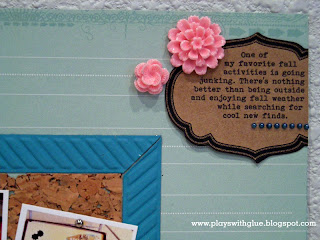
Click to bigify.
Font: Bohemian Typewriter
Journaling spot: Maya Road
Today, I thought I would share with you an easy way to make sure your journaling will show up.
- Open a new document. (I use CorelDraw design software, but you could use other sofware like Adobe Photoshop Elements or Microsoft Word too).
- Measure your die cut that you want to print on and add a box to your new document that is the same size. Make sure the inside of the box is white and that there is an outline showing.
- Mark which end of the paper you load in the printer first. (Trust me, this will be VERY helpful later.)
- Print out the page with the box on it.
- Download a picture of the die cut from the manufacturer's web site. If it's a grouped image, crop it down to just the die cut you are using and crop it tight.
- Place the downloaded (and cropped if applicable) image inside of your box. Measure your die cut and resize the downloaded image to match the size of your die cut.
- Turn off the outline of your box (set the color to none or white) so it won't print. If you're using design software that allows you to place the image on it's own layer and set it to be view only (no printing) do that too.
- Layer a text box over the image and type your journaling.
- Print the page out with the die cut and the journaling image. Now would be a very good time to pay attention to which end is up. :)
- Once you're finished, if you can't set the image of the die cut to not print, delete the image of the die cut before printing. This will make a template to help you make sure you get the orientation of your die cut correct when you run the real one through.
- Lightly affix your die cut inside of the box, over where the image of the die cut and journaling were.
- Load it into the printer (now would also be a great time to make sure you load the paper the right direction).
- Voila! You have a printed journaling card ready to go on your next layout!

No comments:
Post a Comment